Kalua Pork has to be one of my most favorite recipes for feeding a large group. I love it for my family, too, but the expense and ease of it make it one of the best meals for those large gatherings of people. Here’s what you’ll need:
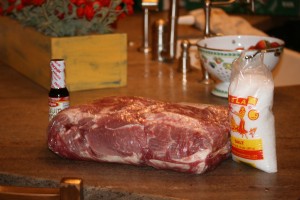 Pork Shoulder Roast about 12-15 lbs. (I get mine at Costco), Aloha salt (can usually get it at Walgreens or Longs Drugs), and liquid smoke. Yep….. three things! You’re liking this already aren’t you? (If you can’t find Aloha salt, don’t panic, just substitute kosher.)
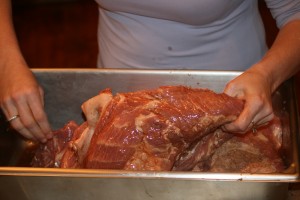
Pour your liquid smoke on your roast and massage it into the roast. You will flip and turn your roast and pour a little more. You will use about a 1/2 a bottle per 12-15 lb roast. So pour and rub it in until you have the whole roast covered well.
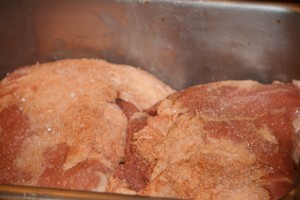
Then do the same thing with your salt. Sprinkle it on and rub it in. You will use about a 1/2 a cup for this large roast. I know it sounds like a lot, but trust me. ;o) Can you see the salt on there all massaged in?
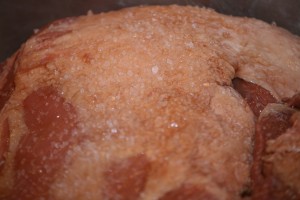 Here’s an up-close view of the salt and smoke all rubbed in. Now to cook it, you can just put it in your crock pot for 11 hours on low. It is important to cook it slow and low. The meat will just fall apart!
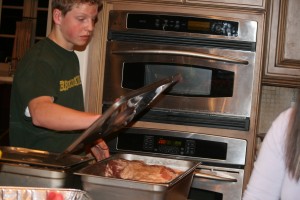 When I shot these pictures, we were doing my son’s Eagle Scout Fundraiser and had a lot of these roasts to cook, so we had about 2-3 of these roasts in these big pans and put lids on them and cooked them all night in the oven. If you zoom in, you can see we had the oven set on 200 and let them cook all night. I’ve also used my roasting ovens. If you want to put them in the roaster, then wrap the meat in tinfoil, put it in the roaster and pour water to half way up the meat and set it on 200 and let it cook all night or all day, too. Then you can slip the meat out of the tinfoil. If you’re using the roaster, you will have to check it periodically to make sure that that the water doesn’t totally evaporate. You may need to add some. The advantage is that if you cook it in the roaster, then you can just shred it right in there. I use it when I have a couple of roasts to cook and am serving it and need to keep it warm. The crock pot works best if you have a small 5 lb roast you are feeding your family with.
After the meat is done cooking, just take your forks and shred it. If you’d like to extend the meat a little bit or do it real Hawaiian Style, then throw some cut up cabbage in it after you shred it and let it cook a few minutes longer. Yummy either way!!
I forgot to get pictures of the end result. It was a big day. ;o)

